

Samsung and Pixel devices protected with CryptCom
Instructions for using the MDM enrollment agent for devices (DMEA)
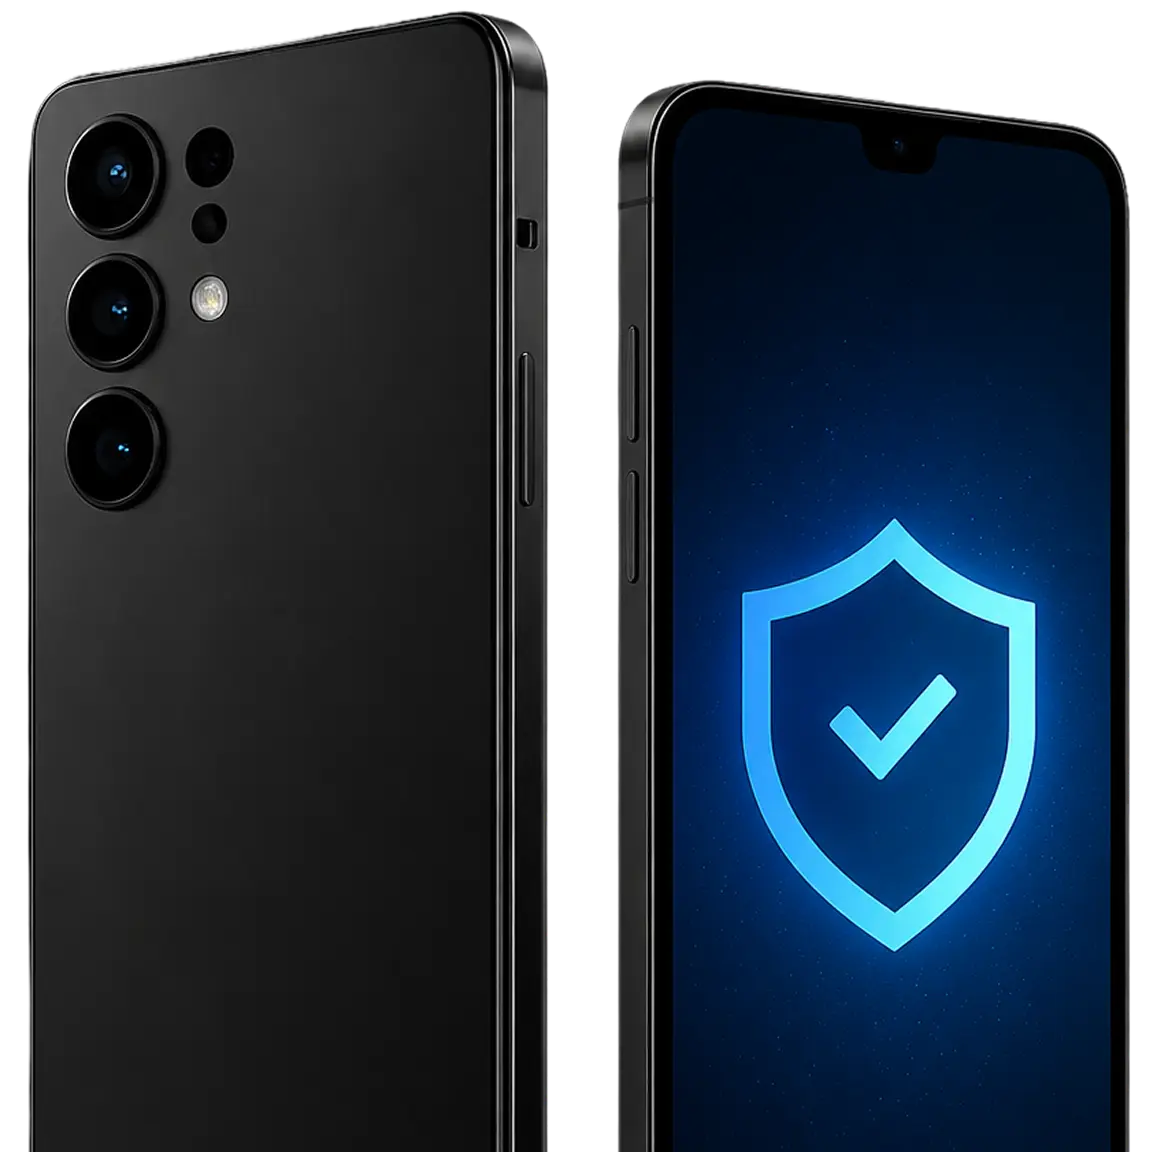

Use it for wireless GrapheneOS installations (instead of the MDM activator) and on any device that encounters Google blocks
1
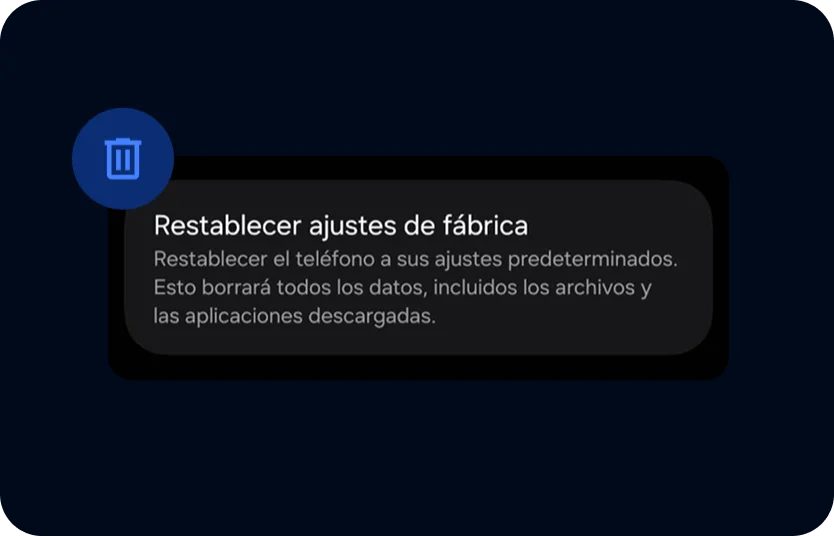
Wipe your device if it is not factory new
- ✓Select the language, manually configure it as a normal device and connect to a Wi-Fi network. Skip unnecessary steps.
- ✓Setup completed and on the Home screen
2
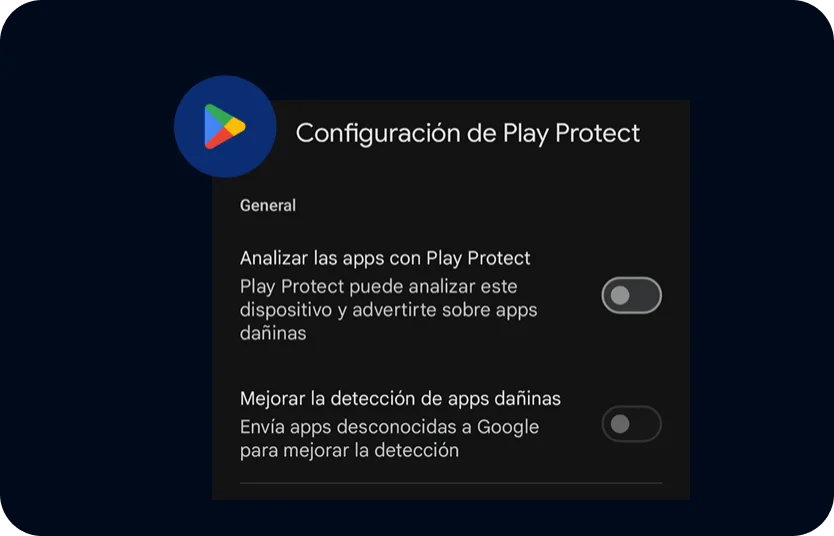
Disable Google Play services
- ✓Go to the home screen Play Store app > 3-dot menu (GrapheneOS devices can skip this step) (top right) > Play Protect > Settings (top right) > Disable all Play Protect.

3
Scan this QR to download the device MDM enrollment App (DMEA)
- ✓Select «Use browser without account»
- ✓Install the app from your device downloads (swipe the screen > Go to «More files» > Downloads > Select DMEA 1.0.13.apk) or when the pop-up window appears «More files» > Go to «Settings» > Grant permission > Install > Open (no other permissions are required).
- ✓Select DMEA v1.0.13.apk
- ✓Go to «Settings» > Grant permission > Install > Open
4
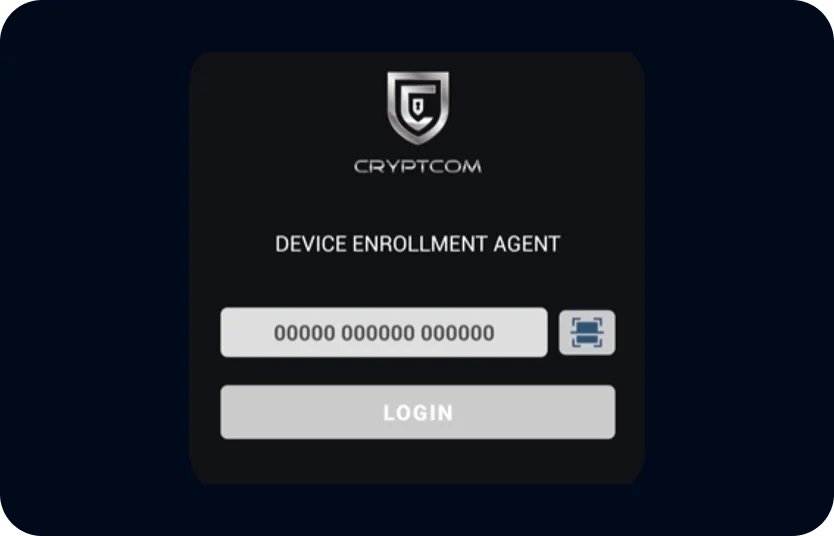
Manually enter the code provided by your distributor
- ✓Select «Use browser without account»
- ✓Select «Allow» the VPN connection
5
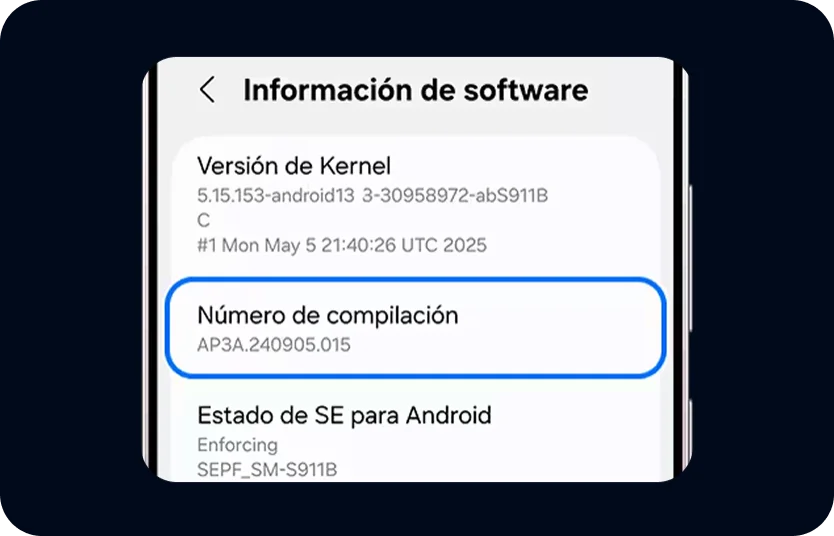
Enable developer mode
- ✓Select «More information» > «About phone» > Software information > Tap the build number 7 times > Accept to «Allow developer settings»
6
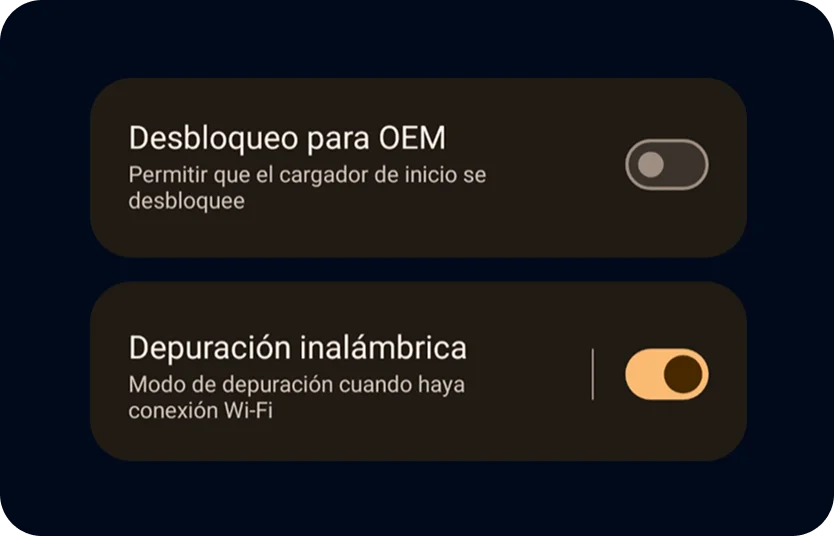
Enable wireless debugging and disable OEM unlock
- ✓Disable OEM unlock on the «Developer options» page: Settings > Developer options > Disable OEM unlock
- ✓Enable wireless debugging: Settings > Developer options > Wireless debugging (enable) > Allow
7
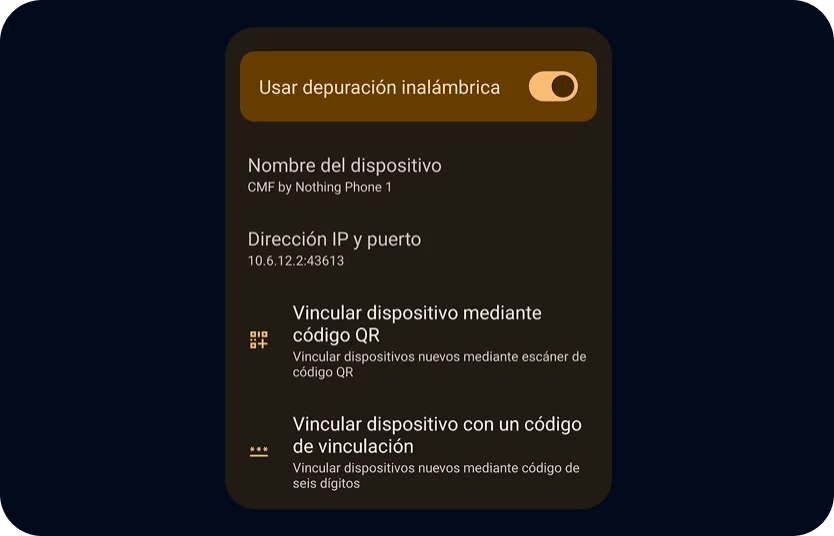
Open «Wireless debugging»
- ✓Select «Pair device with QR code» and scan the wireless debugging code provided by your distributor.
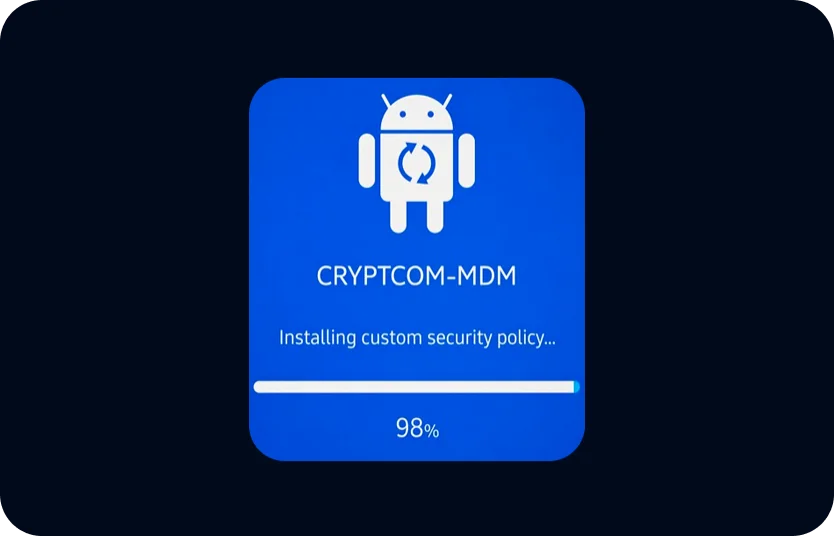
- ✓CryptCom MDM standalone security will install automatically. You will see the blue «Service provisioning» screen while the custom security policy is applied.
- ✓Restart the device and wait for the installation progress to complete from 0% to 100%.
8
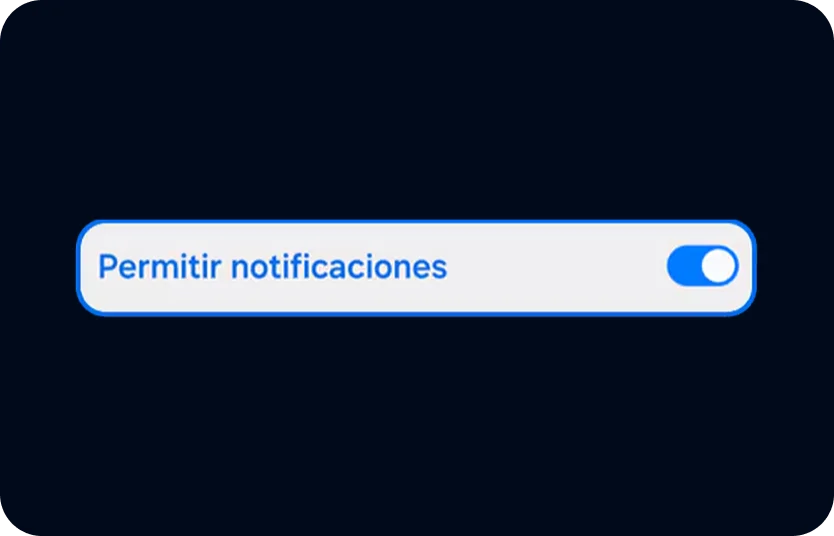
Notification access > select CRYPTCOM-MDM and Allow.
- ✓Press the back arrow to continue with the following steps.
9
Activate Use CRYPTCOM-MDM (Pixels)
- ✓CryptCom-MDM operates entirely within the device, with no external servers, remote access or third-party MDM platforms.
- ✓All security remains local, providing greater privacy and protection. During installation, Android may show system notices to facilitate advanced security permissions.
- ✓These are necessary to block unnecessary services and apply device protection. No data, configuration or changes leave the device.

10
Accessibility
- ✓Installed apps: enable and allow «Use CRYPTCOM-MDM».
- ✓Do not select the accessibility shortcut, leave it disabled.
- ✓You will see the progress of «Installing custom security policy» from 0 to 100%.

11
Set up screen lock
- To improve device security > select PIN > Set the PIN

12
Set the phone as default
- «Default phone application»

13
Activate and sign in to the CryptCom App with Wi-Fi enabled
- ✓SIM cards will activate automatically when signing into CryptCom with Wi-Fi connection. Keep the app open for 5-7 minutes to complete automatic network configuration (APN).
- ✓If the connection does not appear, toggle airplane mode on and off or restart the device.
- ✓Allow CryptCom to display over other apps and run in the background to ensure correct operation.